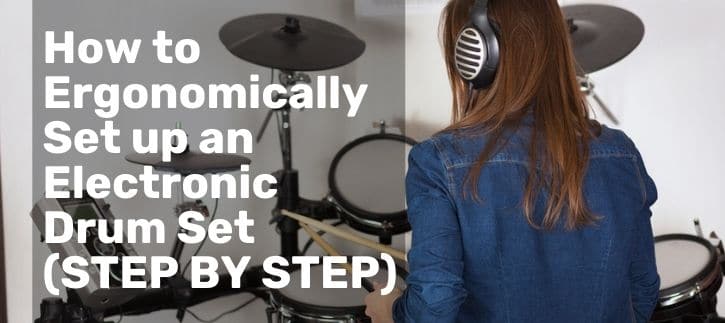
I receive the question of how to ergonomically set up an electronic drum set a lot from my readers. It is a good question by the way. Just by setting up your kit a bit differently, you can increase your efficiency behind the set.
Even if you are quite satisfied with your current set up of drum sets, it is not a bad idea to try a new layout for a few days. If it improves your efficiency keep it, otherwise, revert to your old setup.
I wrote this guide to share the way I set up my drums. The layout is based on maximizing your efficiency and utilizing the space available.
So, without further ado, let’s discuss how to ergonomically set up an electronic drum set. Here you are:
9 Steps to How to Ergonomically Set up an Electronic Drum Set
The roadmap below will guide you on how to ergonomically set up an electronic drum set. The steps given are fairly linear and should be followed as such. With that said, let’s start:
Set up a Rugged Mat on the Ground
For a start, place a rugged & thick mat on the ground. Make sure the mat is not slippery at all. This is done to create a solid and non-slip base for the drum setup.
Set up Your Drum Throne First
Unfold your sitting stool and place it on the mat at the start of it. Place one leg on the mat and the other two off the mat on the floor.
It will help anchor the mat under your weight. Adjust the height of the stool to your comfort.
[Related Article: 5 Things to Consider Before You Buy a Drum Throne]
Mark the Space for Your Legs
Sit on the stool and mark the space your legs need to stay comfortable. As a rule, your thighs should angle slightly downward and your feet should land a bit forward to your knees. This rule is quite flexible though.
Setup Kick Pedal and Kick Drum
With the basics out of the way, time to start setting up the drums. Start with placing the kick pedal on the ground. Secure it with a kick drum by tightening up the clamps.
Adjust the legs of the drum so that it does not touch the ground and stay an inch or two high from the ground.
Setup Hi-Hat Stand

Setting up Hi-Hat stand is a tricky thing to do but not so difficult. Simply set up the bottom part of the stand firmly on the ground and put the upper half into the hollow tube.
Use screws to fix the upper rod into the lower one. Mount and clamp the two cymbals on top of the stand at a height you desire.
Setup the Snare Drum
Place the snare stand between your feet so that it barely touches your knees. Once the stand is set up in the right position and at the right height, mount the snare drum on top of it.
Mount the drum in a way that your elbows bend slightly downward while hitting the batter’s head. You may also tilt the snare drum a little for your comfort.
Setup the Toms
Setting up the Toms is pretty straightforward. Place the tom mounts into the given holders on top of the kick drum. Set the holder’s angle opposite to each other.
For best beats, set the Toms a bit tilted towards yourself. The severity of the tilt angle depends on your liking. For the floor tom with legs, place it near to the kick drum but at an adequate distance.
Setup the Cymbal Stand
With the core elements set up and assuming that you use cymbals, you will need two extra stands in your setup.
One for a ride cymbal and one for a crash cymbal. If you are not in a pinch for money, set up two boom stands instead of straight stands for the cymbals.
[Related Article: 5 Clever Ways to Add Cymbals to Electronic Drums ]
Setup the Ride and Crash Cymbals
This step is quick and easy. You have already set up two boom stands for the ride and crash cymbals. All you need to do is mount the cymbals on the stand using clamps.
Do not tighten the clamps too much so that the cymbals can vibrate freely.
What’s Next
Congratulations! Now the task of how to ergonomically set up an electronic drum set is super easy for you. Follow the guide step by step and you will have the most efficient layout for your electronic drum set.
You can always start by placing your drum parts tightly close to each other. Once the setup is complete, start spacing out the parts to utilize the space properly. Just be careful that you do not lose the reach to any part of your kit. Thanks!

