Every new drummer needs a solid drum set to practice on. You can find a lot of them online, but once you get your hands on one, setting it up can be a problem. However, if you have the right tools and a good place to start, you’ll be able to do it quite easily. This article will answer questions like:
- What is a drum set?
- How to set up a drum set?
- How to use a drum set?
What You Need To Know About Drum Sets
Before you learn how to set up a drum set, it is important to familiarize yourself with the components of one. Beginner drum sets come with four or five components out of which you can choose one.
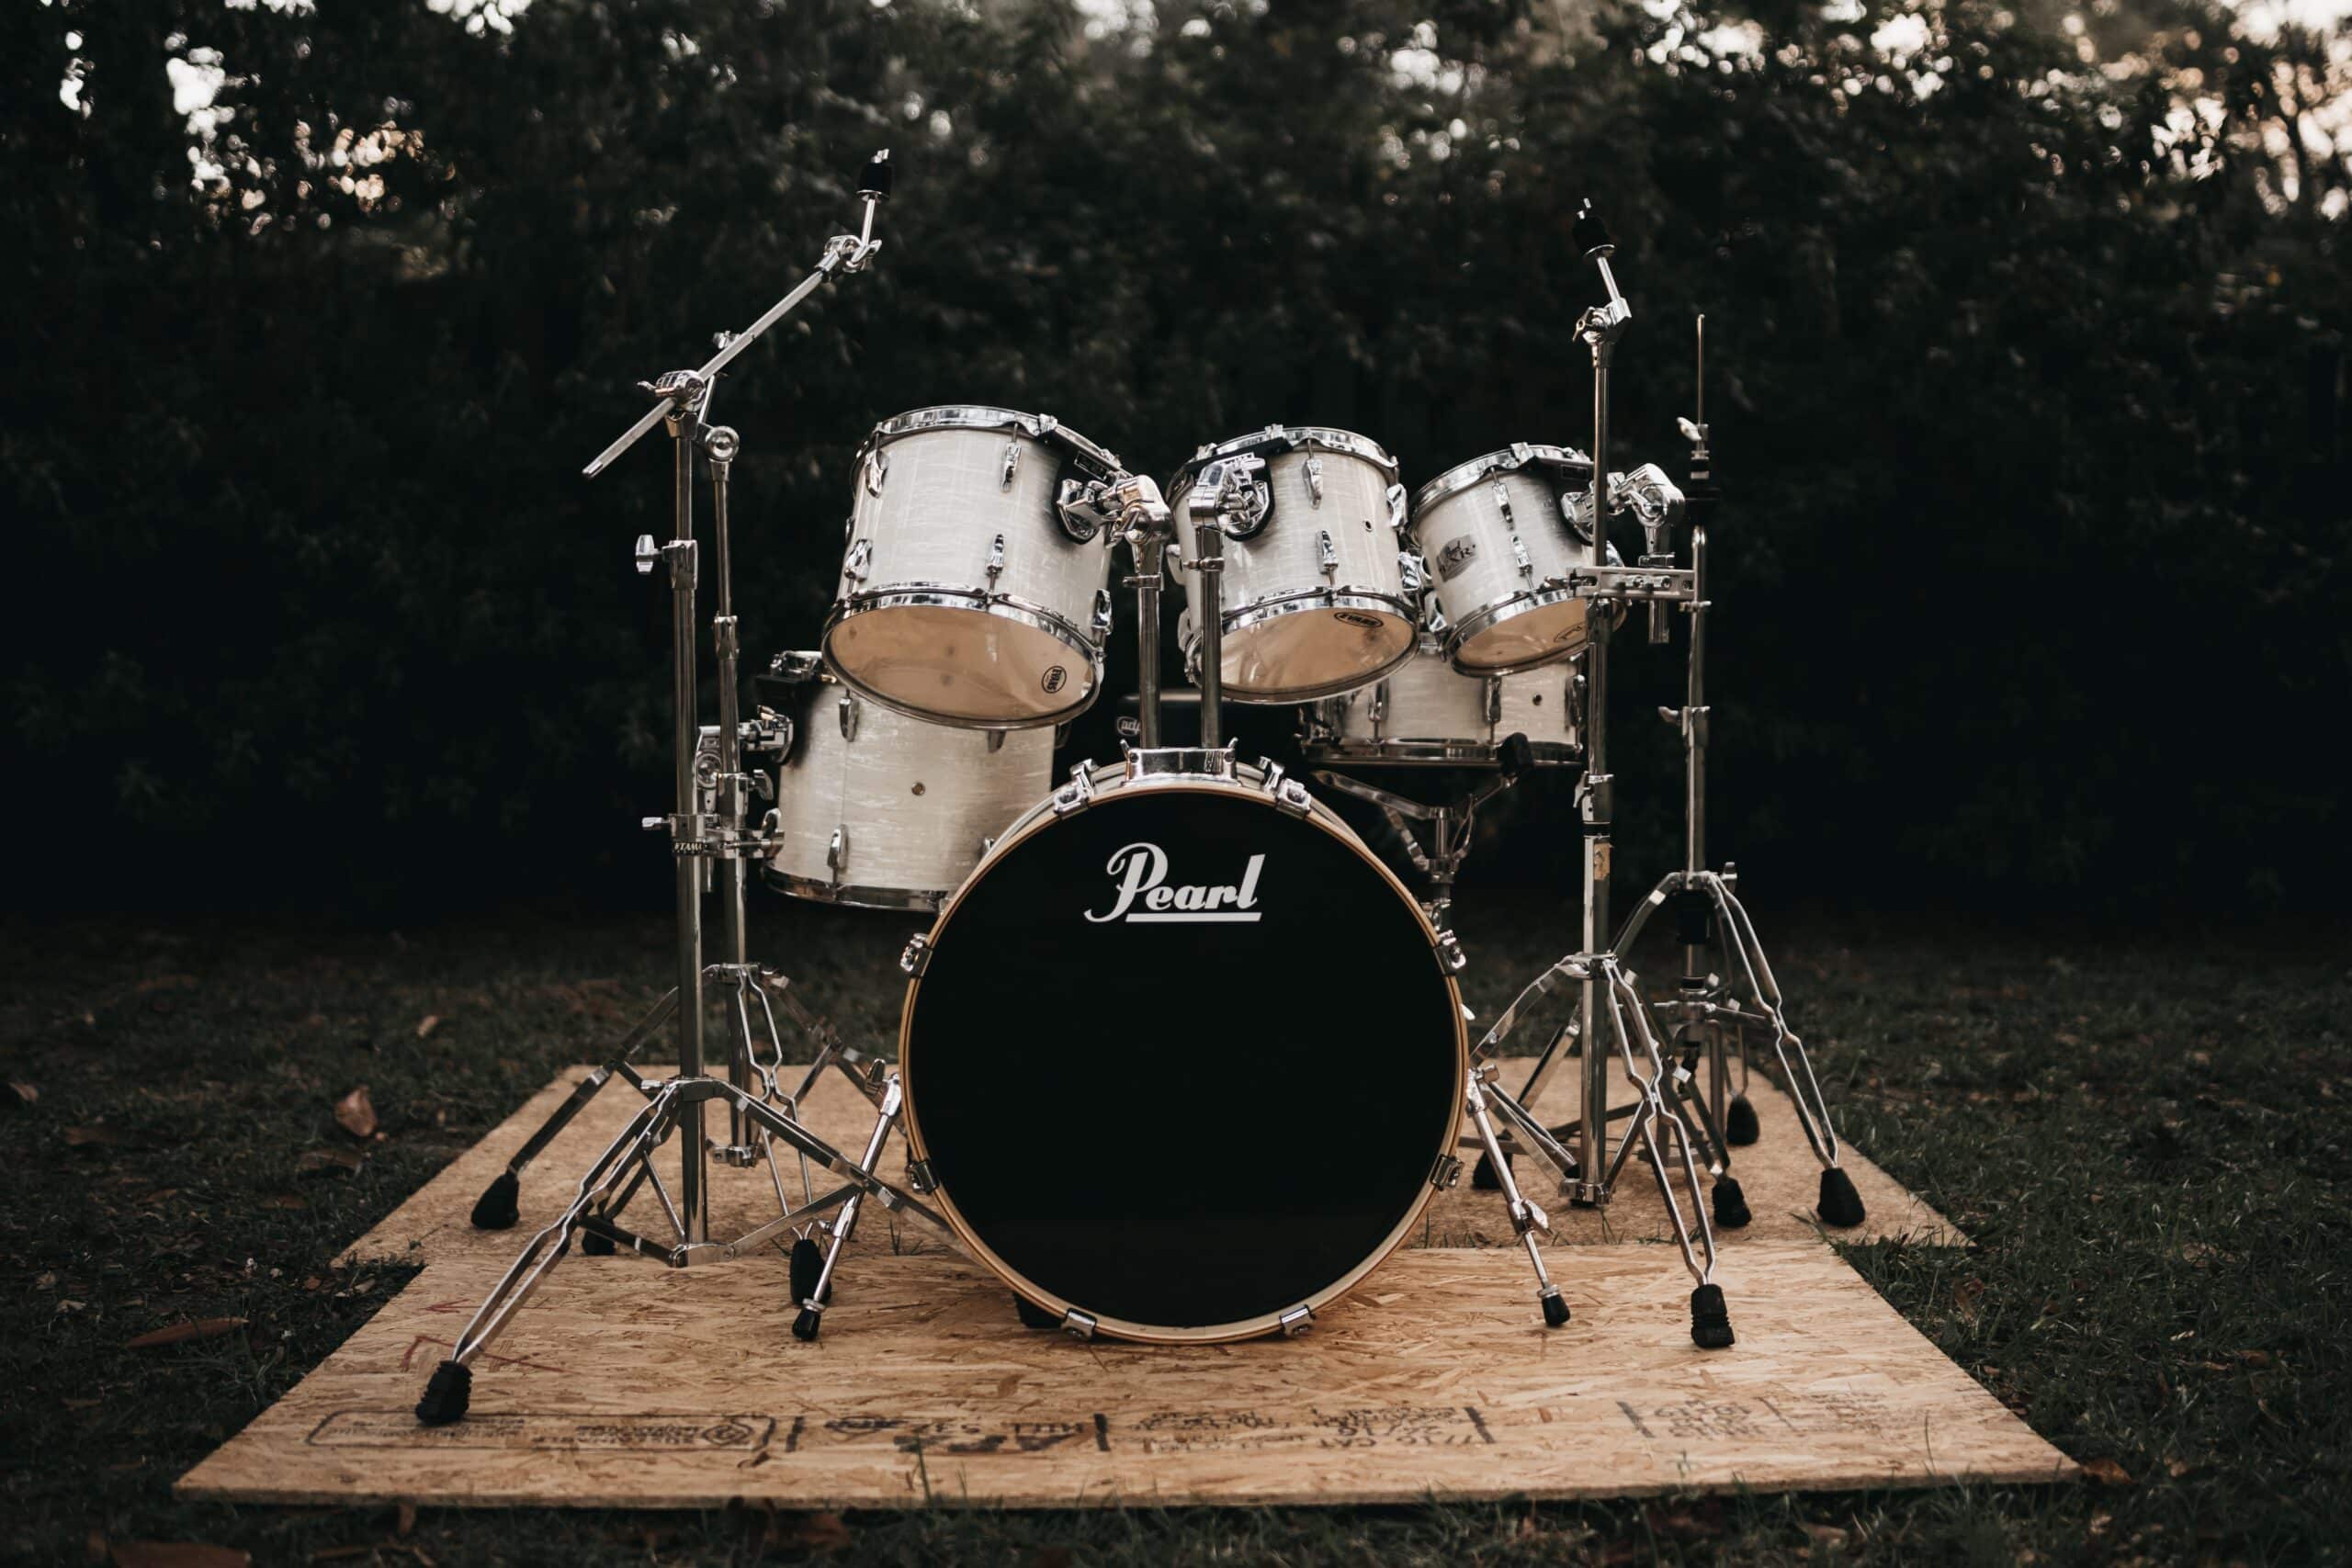
A standard five-piece drum set consists of a bass drum, a snare drum, a floor tom, and two tom-tom drums.
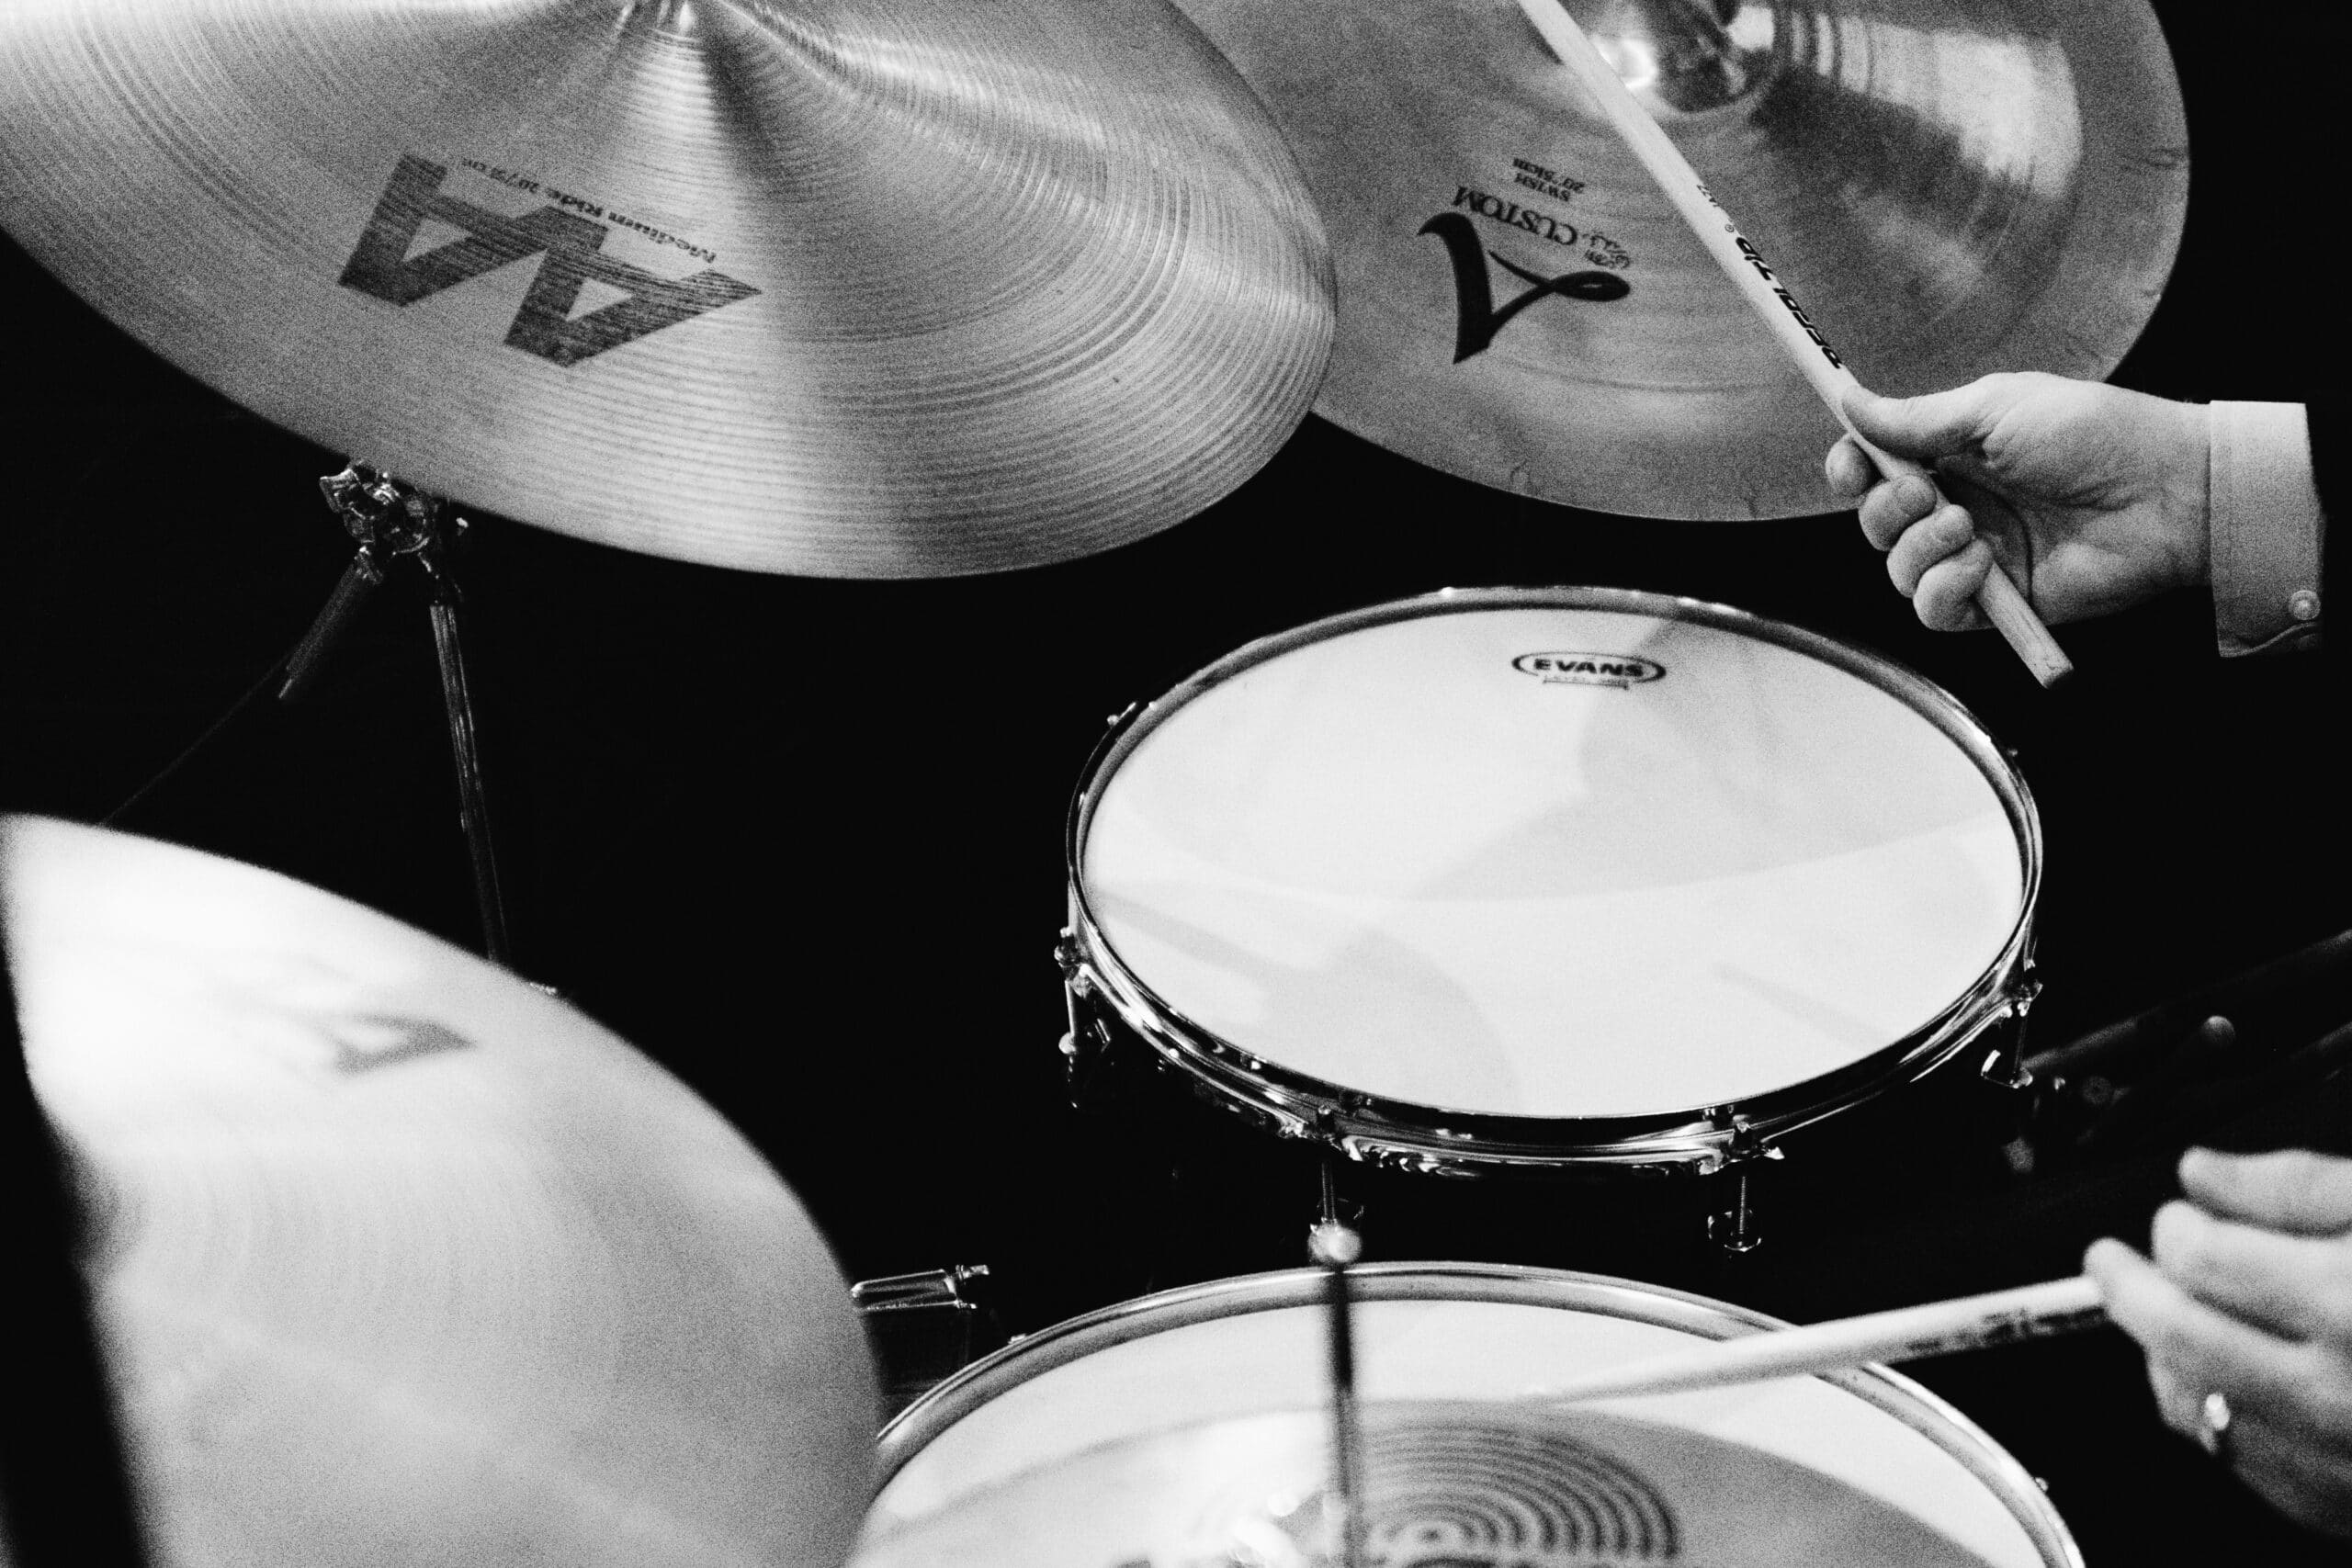
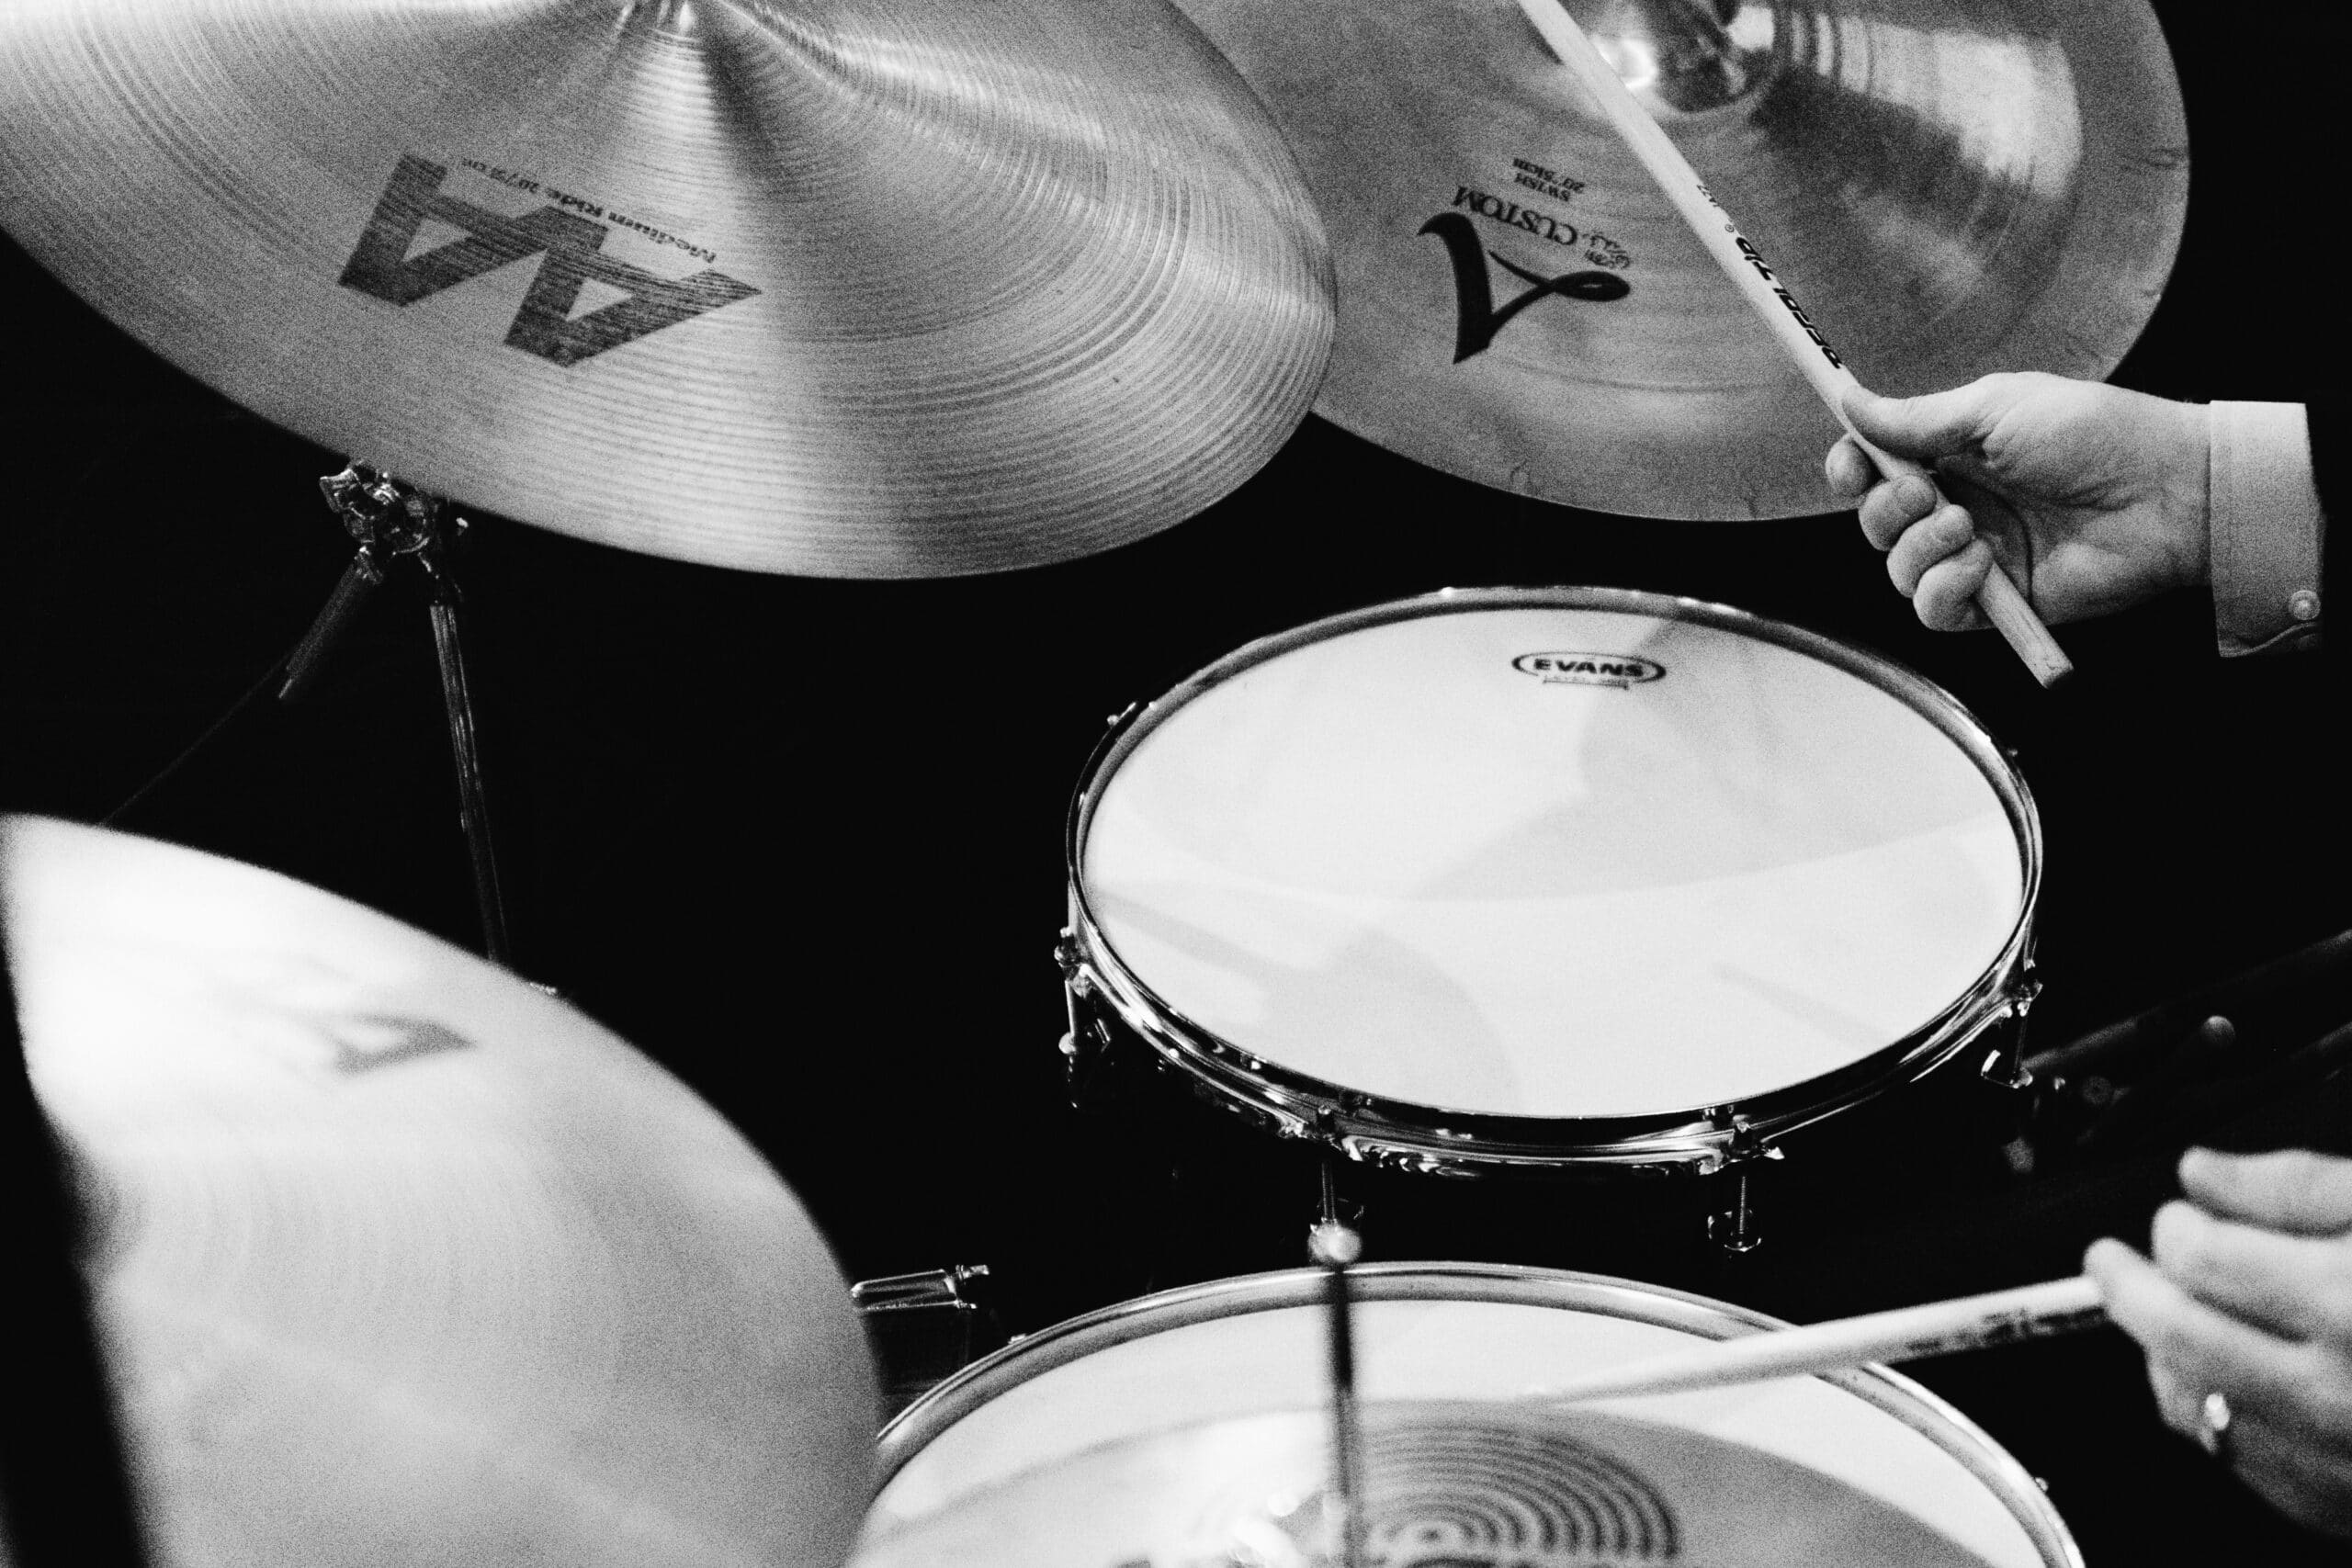
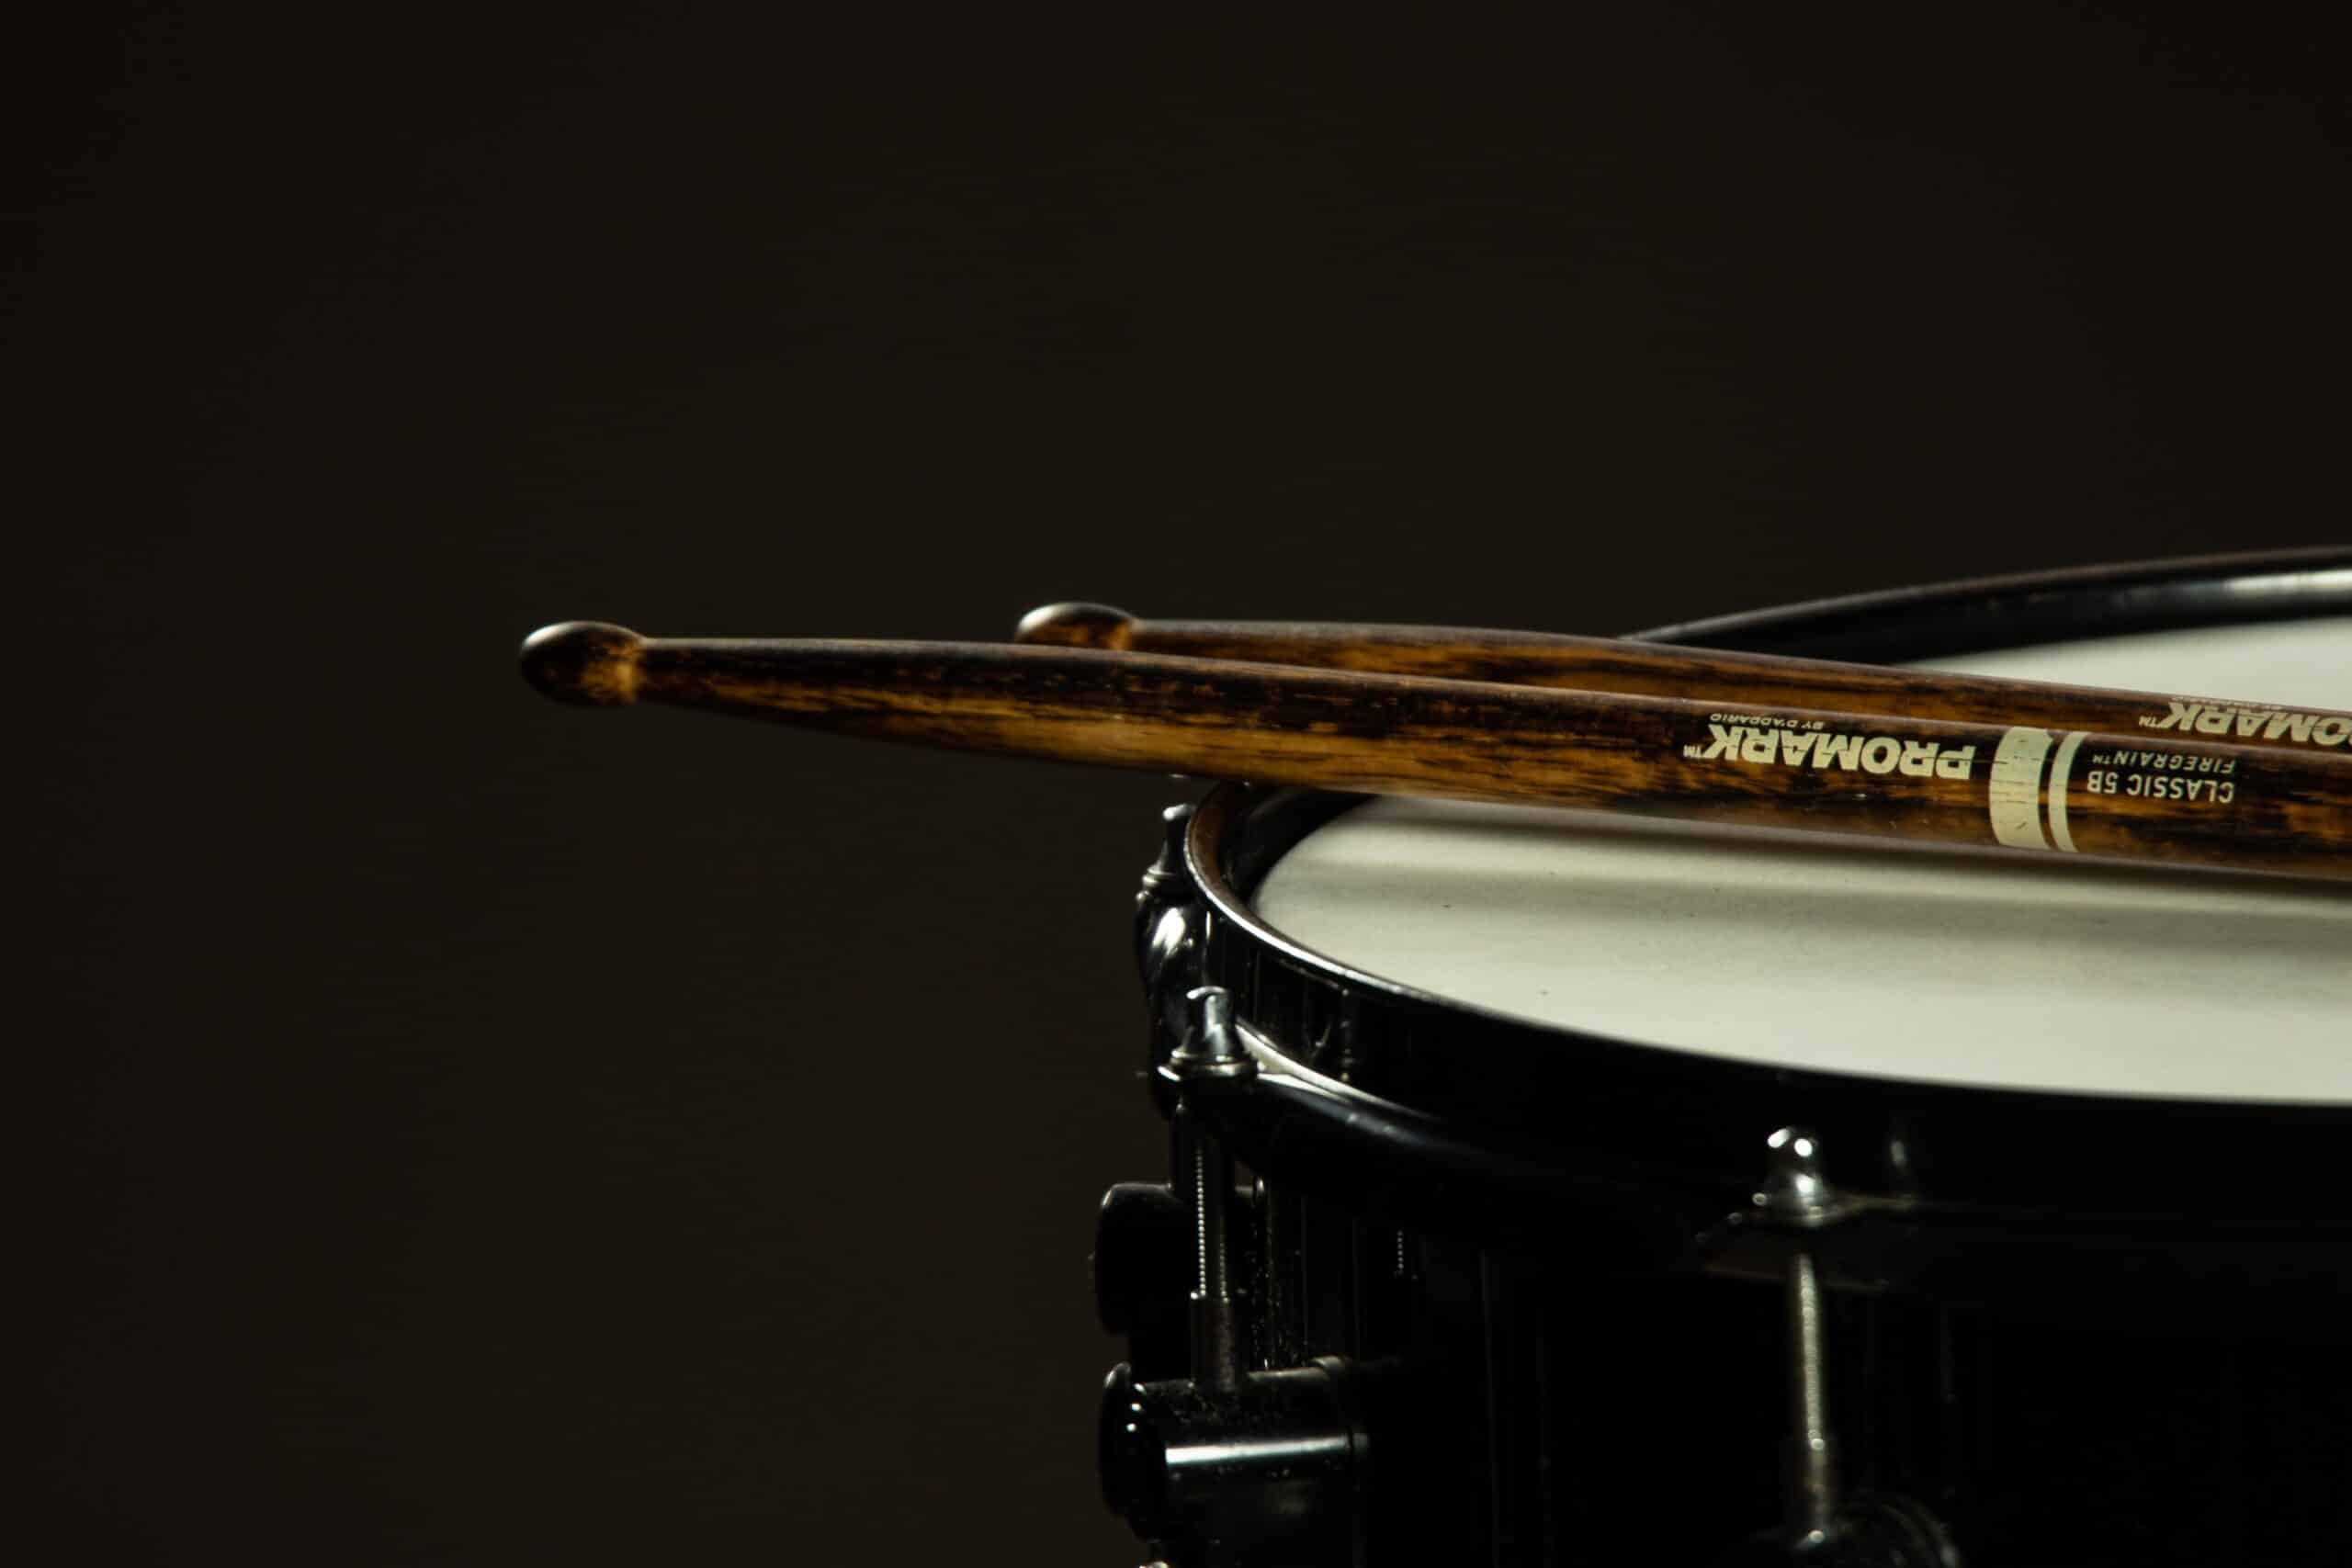
It also comes with three different cymbals: the ride cymbal, the crash cymbal, and the hi-hat cymbal. You also get a pair of drumsticks that operate the entire drum set except for the bass drum and one cymbal. The bass drum and the hi-hat cymbal are both operated by paddles.
Read Also: 11 Best Electronic Drum Sets in 2021
Supplies You’ll Need For Setting Up a Drum set
All drum sets also come with a drum key that is used to assemble and disassemble the drums. Drum sets consist of three main components: the drums, the cymbal, and accessories.
There is also the throne where the drummer sits, the bass drum pedal, and the cymbal stands to hold the cymbals in place. If you have all of these you can proceed to set up your drums.
How To Set Up a Drum Set (8 Steps)
Step 1: Choose a Good Spot
You’ll at least need an 18-foot diameter for your drum set. A good rule of thumb is to put every component of your set on the floor without touching each other. The area the components take is the space you need.
Step 2: Set Up Your Throne
The first thing to do once you decide on a space is to set up your throne/stool. You need to fix the height of your stool so you know how high to assemble everything else depending on your position.
Once you sit on the stool, your knees should be tipped downwards below your thighs. If your knees are tipped upwards, you’re sitting too low.
Read Also: 5 Best Drum Throne in 2021
Step 3: Set Up Your Bass Drum
Your bass drum is the biggest in the set and sits in the middle of the setup. You should leave plenty of space on either side of the drum before putting it down.
Be sure to set the drum at enough distance from the stool that you can move around freely. Also, make sure your brass drum sits stable and equally on both legs so it doesn’t wobble as you play.
Your bass drum should ideally sit just a little above the floor. This is necessary so you can slide the bass drum pedal clamp under it.
Step 4: Set Up Your Brass Drum Pedal
Some drums come with the brass drum pedal attached, while you need to fix it to the side of the beater yourself for others. Your pedal should sit in the middle of the drum so that the beater strikes your bass drum in the center.
If you find the pedal takes too much energy to press, unwind it a little. Similarly, if you find the beater hits the drum but doesn’t return to its original position, you need to tighten the pedal.
Read Also: 5 Best Bass Drum Pedals in 2021
Step 5: Install Your Snare Drum
Your snare drum is the drum you’ll be hitting the most, so you need to ensure it sits at the perfect height. Setting it too high can cause you to hit the rim instead of the head, and setting it too low will cause your legs to get in the way.
Ideally, your drum should sit above your knees, but below your elbows. We recommend you set it parallel to the buckle of your belt. From there you can adjust it further to find what fits you best.
Your snare throw-off or strainer should be on the left side of your snare. It is okay to set your snare drum flat, although some drummers like setting their drum angled away from them.
Step 6: Set Up Your Toms
A drum set usually has two mounted and one bottom tom-tom drum. Your floor tom should sit at the same height as your snare drum but on the opposite side.
Both of your mounted toms should be set at equal heights so you can strike both of them without having to move your elbows.
Set up your toms and rotate your throne to check if you’re having problems striking them. Setting your toms too high won’t give you proper rebound with each hit, and setting them too low will cause you to hunch over. Hunching over too long can cause back pain in the long term.
The stand of any of your toms should not be touching your bass drum. This will ruin the acoustics of the bass.
Step 7: Set Up Your Hi-Hat Cymbals
Your cymbal stand should be set as wide as possible to provide the most stability. You should fix your cymbals higher than the snare drum to be able to hit them comfortably.
Once you fix your stand, mount your hi-hat cymbals on it using bolts that come back with the kit. Unscrew the bolts of the stand till the top is barren. Both of the hi-hat cymbals are identical, so choose one and slide it on with the convex side up.
Then slide on the bolt, and follow it with the other hi-hat cymbal. This one should be concave side down. Tighten the bolt before the top cymbal completely touches the bottom one. There should be about a ½-inch gap between them.
For optimum movement and efficiency, your bass drum pedal and your hi-hat pedal should be opposite one another. This way, you’ll be able to reach one with either foot. Normally, the bass-drum pedal and the hi-hat pedal are placed on either side of the snare drum.
Step 8: Set Up Your Crash and Ride Cymbals
Drummers use at least one crash and ride cymbal, but you can use two crash cymbals too. Set your ride cymbal on your right side and higher than the floor tom.
Your crash cymbals go to the left side between the snare and the floor tom. You should set both your cymbals fairly high, but be sure you can reach them comfortably.
Once you’re done setting your crash and ride cymbals, your drum set is ready to play.
How to Use a Drum Set?
Learning how to use a drum set, even a basic one, is no easy task. You need a special instructor for that. However, there are two things we want to discuss here: sitting posture, and how you hold your drumsticks.
Sit with your back straight, and your knees at 90 degrees angle to your waist. Tuck your elbows in to get the best out of your hits on the drums.
Finally, there are two famous ways to hold drumsticks: the matched grip and the traditional grip. The matched grip is when you hold both drumsticks with your hands closed over the tops of them.
In the traditional grip, your right hand will hold the drumstick from the top, and the left drumstick is held by an underhand.
If you’re looking for a detailed guide to playing drums, here’s a video that can help.
https://www.youtube.com/watch?v=et9hU7QMDYU
Final Thoughts on How to Set up a Drum Set
Once you get your setup assembled, sit on the throne and check if you can reach everything easily. Also, make sure nothing is wobbling, and you have enough space to move comfortably.
No component of the drum set should be touching each other either. If you tick all these boxers, you’re good to go. You’ll be readjusting your drums and cymbals for comfort as you play, but you’re done with the primary assembly.


