As we grow as drummers, slowly we become more choosy about the sounds and we start concentrating on the sound and quality of the music. The drum module is certainly a blessing for all the drummers out there.
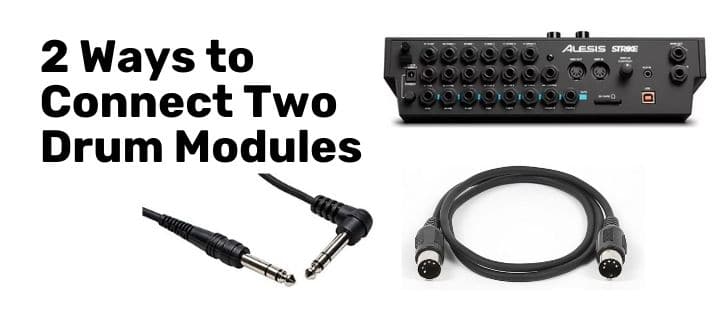
Then How to Connect Two Drum Modules? Read Now.
However, for the initial few weeks, you need to focus and learn how dramatically you can create decent music just by certain selection norms. As a beginner, you will face and go through lots of confusion about the working of the drum modules.
Further, if you are sorted about the selection of various drum modules, congratulations, you have already reached the milestones. Now, if you are confused about the connection of your two drum modules, I will enlighten you. Let’s follow!
What is a Drum Module?
The very central component of a drum kit is called a drum module. A drum module is an arrangement that creates the drum kit sounds and various other sounds set by the drummer. A drum module cannot play the selected sounds on its own. Even if the drum module is connected with the drum triggers or pads, it is unable to create any audible music.
Further, it can only create different drum sounds the moment the drummer strikes the acoustic drumming kit or drum pads incorporated with electronic triggers. When The drummer strikes the drum pads, a signal is generated and it sends a signal to the drum module. Thus, this module creates relevant drum sounds.
Read More about Best Drum Module for e-drums.
Difficulty in Connecting the Two Drum Modules
If you are in this section, it is indicative of how passionate you are about drumming. You are learning and experimenting on every single step. Since you have understood and are aware of the mixing and connecting the two varied modules and somehow it is not working out, don’t panic.
Many drummers try it and it turns out to be a disaster. Connecting two modules is not that difficult, however, with a little knowledge you can definitely make it convenient and hassle-free. Keep Scrolling!
Different Methods to Join Two Drum Modules
The basic step to connect your drum modules is the same. All you have to do is to select the two compatible modules to maintain the sync. I am going to discuss two methods in which you can connect your drum modules. Let’s check out!
1. MIDI Method
MIDI stands for Musical Instrument Digital Interface. It comprises a set of digital signals for controlling and simultaneously playing electronic musical instruments.
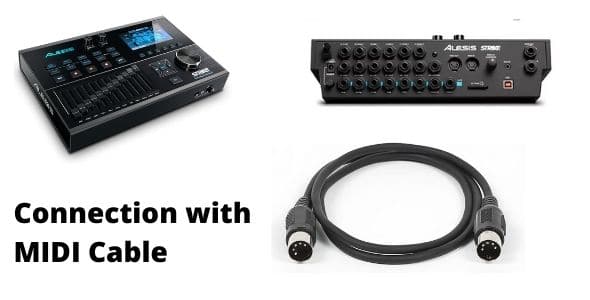
For this connection, you need a midi cable. Use it to connect the midi output of one of the modules with the midi input of the other module, in case there are two modules.
Through this process, even if you strike the other drum module, you will be able to listen to your module with the midi input.
Generally, the first drum module doesn’t sound good. Therefore, with the help of this midi connection, many drummers are able to produce more realistic and pleasant sounds.
2. Plug-in Method
I am assuming that you are good with the selection and now we will learn how to fix and connect the modules together. Now, you must have two modules that are two stereo ones and an auxiliary headphone output each.
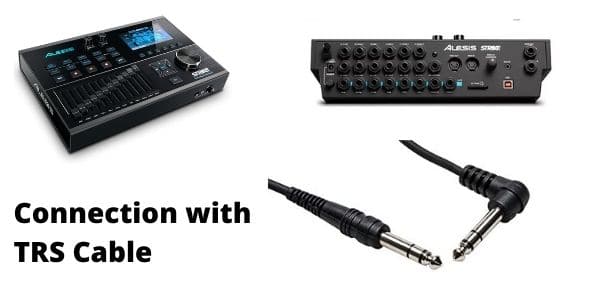
To connect the two modules without a mixer for recording, pick the auxiliary cable of one of the modules and join it in the auxiliary of the other module. During this process, when you are plugging in the adapter of one module into another, ensure that you adjust the patches to low volume.
For your understanding, you plugged in the audio output or in simple words, the headphone jack of one of the modules in the nixer jack or mixing input of the other drum module. Now, you can listen and mix both the modules and enjoy the beats conveniently.
How to Use a Splitter Cable
A splitter cable is an equipment that is used to separate a cable signal between two or more devices, only if there are two coaxial cables to connect those devices by making the signals weak.
However, this process can lead to intermittent loss of data or service or sometimes even complete failure of the service. Nowadays, modern splitters are designed in such a way that they retain the signal strength without loss of any service.
Moreover, you can see the high-definition quality of sound without trading off the quality as well as data. Let’s now see how you can use a splitter cable.
- Firstly, connect the drum splitter to the input of the trigger on the drum module
- Connect the main cymbal to the Edge connector right on the drum splitter.
- Then connect the secondary cymbal to the BOW connector on the splitter.
- Now, designate individual instruments to the Head trigger and RIM inputs.
- You are good to go. Start Drumming!
Again, if you want to learn about chokable e-drum cymbal splitter, follow the pointers.
- Firstly connect two electronic drums cymbal pads to any of the dual-zone trigger input on the module.
- The major cymbal restores the “choke” function.
- You will require a basic setup for that. You don’t have to change the advanced trigger parameters as well.
- Opt for a high-end screened cable with gold-plated connectors for a long, durable, and trouble-free life.
- While you are connecting to the cable harness, you need extension cables and a jack-to-jack coupler.
Before You Go…
There is no rocket science in connecting the two drum modules. However, sometimes, when you are stuck at some point, you just can’t progress without any guidance. Though when I was at your place, I used to get frustrated and impatient.
At that time, there were quite a few means and mediums to understand the logic and basic concepts. But now, you just google and you get everything on the plate. Still due to a lack of authenticity and reliable knowledge, though we progress we hold the wrong leads.
Therefore, I tried my best to give you practical knowledge and ways to do something. Hope it helps.